
The Best Camera Gear For Amphibian Photography: Essential Equipment for Capturing Frogs and Salamanders
Capturing stunning photos of amphibians requires specialized gear and techniques. These fascinating creatures often inhabit challenging environments, making proper equipment essential for success.
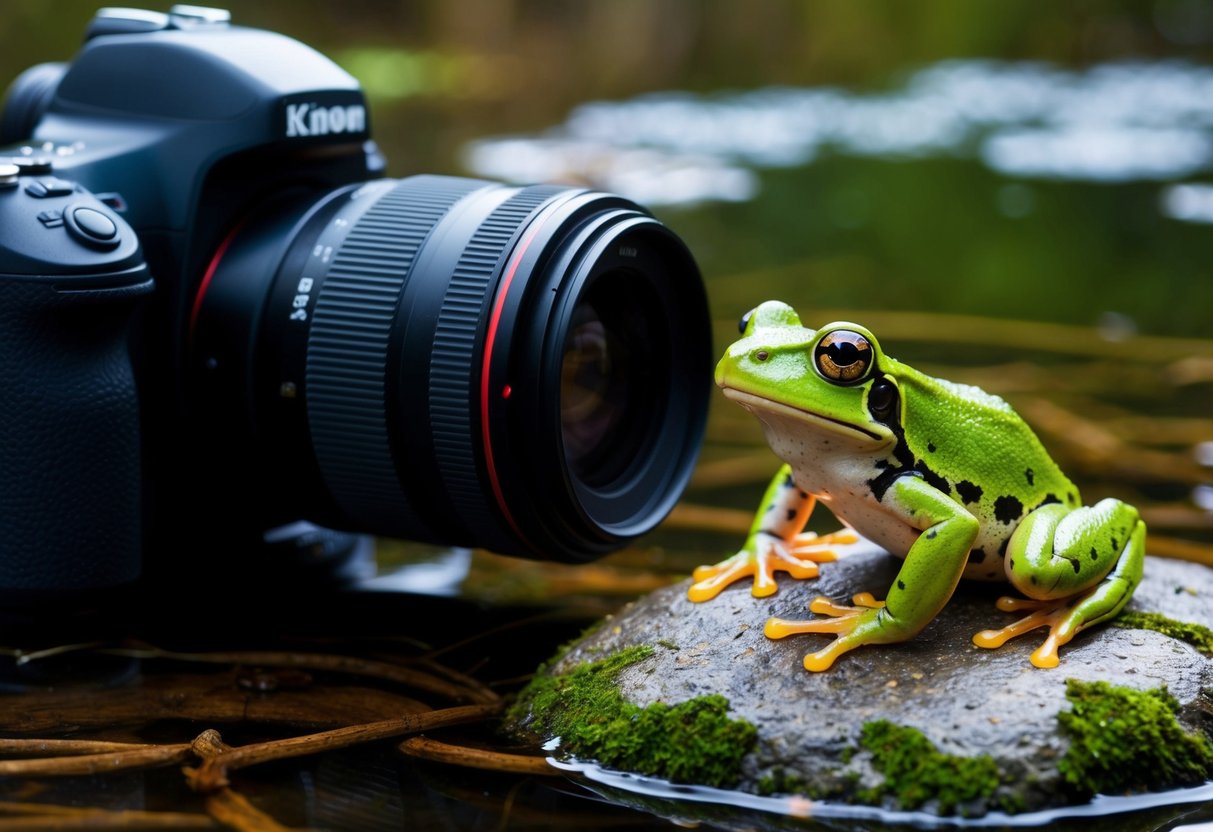
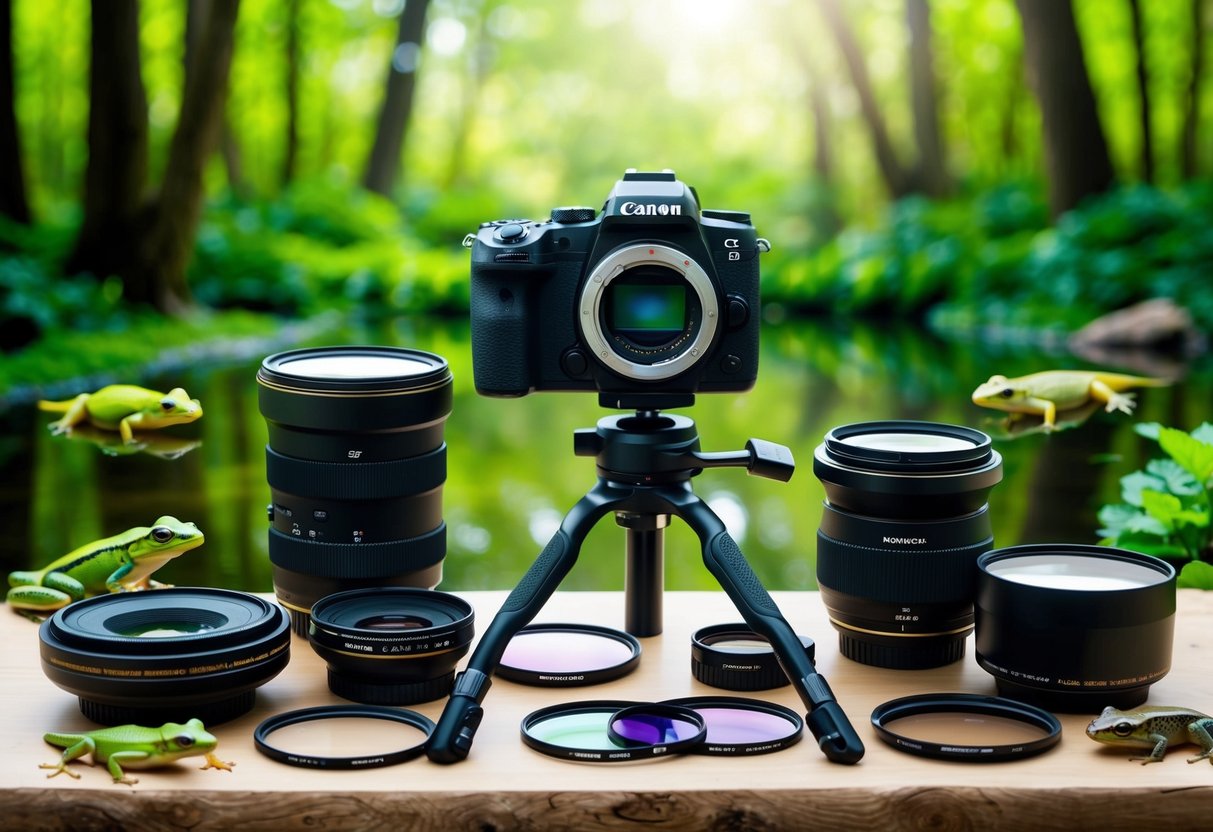
The best camera gear for amphibian photography includes a DSLR or mirrorless camera with good low-light performance, a macro lens, and a reliable flash system.

Getting close to frogs, salamanders, and other amphibians calls for patience and the right tools. A weather-sealed camera body helps protect your gear in damp conditions. Pair it with a macro lens for detailed close-ups of small subjects.
Good lighting is key, so invest in a flash or ring light to illuminate your amphibian models.
Don’t forget supporting gear like a sturdy tripod and rain cover for your camera. These items help you stay stable and dry while shooting in wet habitats.
With the right equipment, you’ll be ready to capture amazing amphibian images in their natural settings.
Key Takeaways
- A macro lens and flash are must-haves for detailed amphibian close-ups
- Weather-sealed cameras protect gear in damp amphibian habitats
- Patience and proper technique are just as important as having the right equipment
Understanding Amphibian Photography
Capturing images of amphibians requires special skills and knowledge. Photographers need to be aware of the animals’ habitats and behaviors. They also must consider how to minimize their impact on these sensitive creatures and their environments.
Environmental Considerations
Taking photos of amphibians means working in wet, often muddy conditions. Waterproof gear is a must. Cameras and lenses should be protected from moisture and dirt.
Some photographers use special housings for their cameras when shooting in or near water. Others opt for waterproof cameras.
Lighting is crucial in damp, dark habitats. Many pros use external flashes with diffusers to soften the light. This helps prevent harsh shadows and reflections on wet skin.
It’s important to tread lightly in amphibian habitats. Photographers should avoid disturbing the environment or stressing the animals.
Behavior and Habitat of Amphibians
Amphibians are often most active at night or during rainy weather. This means photographers may need to work in low-light conditions.
Many species are small and shy. Macro lenses help capture detailed close-ups without getting too near. Telephoto lenses let photographers keep their distance from wary subjects.
Knowing where to find amphibians is key. Common habitats include:
- Ponds and streams
- Moist forest floors
- Under logs or rocks
Patience is vital. Photographers often need to wait quietly for amphibians to emerge or resume normal behavior.
Understanding breeding seasons can lead to exciting photo opportunities. Many species gather in large numbers to mate and lay eggs.
Choosing the Right Camera
Selecting the ideal camera for amphibian photography involves weighing several key factors. The camera type, weather protection, and sensor size all play crucial roles in capturing stunning images of these elusive creatures.
DSLR vs Mirrorless Cameras
Both DSLR and mirrorless cameras offer unique advantages for amphibian photography. DSLRs have a longer battery life and a wider selection of lenses. They also perform well in low light conditions, which is helpful for nocturnal amphibians.
Mirrorless cameras are lighter and more compact, making them easier to carry in wet environments. They often have faster autofocus systems, which is crucial for capturing quick-moving subjects.
For amphibian photography, the choice between DSLR and mirrorless often comes down to personal preference and shooting style. Some photographers prefer the traditional feel of a DSLR, while others value the portability of mirrorless systems.
Camera Body Weather Sealing
Weather sealing is vital for amphibian photography. Frogs and salamanders live in damp environments, so cameras need protection from moisture and humidity.
Professional-grade cameras typically have better weather sealing than entry-level models. Look for cameras with rubber gaskets around buttons and dials, and sealed compartments for the battery and memory card.
Even with weather sealing, it’s wise to use additional protection like rain covers. This extra layer safeguards the camera in extremely wet conditions, which are common in amphibian habitats.
Sensor Sizes and Their Impact
Sensor size affects image quality, low-light performance, and depth of field. For amphibian photography, larger sensors generally provide better results.
Full-frame sensors offer excellent low-light performance and dynamic range. This is beneficial for capturing details in dark forest floors or nighttime scenes.
APS-C sensors provide a good balance between image quality and affordability. They also offer a crop factor, which can be advantageous for getting closer shots of small amphibians.
Micro Four Thirds sensors, while smaller, can still produce high-quality images. Their main advantage is the reduced size and weight of the camera system, which can be helpful when trekking through amphibian habitats.
Essential Lens Selection
Choosing the right lens is crucial for capturing stunning amphibian photos. The lens you pick affects image quality, composition, and your ability to get close to subjects safely.
Macro Lenses for Close-Up Shots
Macro lenses are ideal for detailed shots of small amphibians. These lenses allow for extreme close-ups, revealing textures and colors invisible to the naked eye.
Macro lenses with 100mm focal length are popular choices. They provide enough working distance to avoid disturbing subjects.
Look for lenses with a 1:1 magnification ratio. This means the subject appears life-size on the camera sensor.
Some top macro lens options include:
- Nikon 105mm f/2.8 VR
- Canon 100mm f/2.8L IS USM
- Sony 90mm f/2.8 Macro G OSS
These lenses offer sharp focus and image stabilization, helpful for handheld shots.
Wide-Angle Lenses for Habitat Context
Wide-angle lenses help capture amphibians in their natural settings. They show both the subject and its surroundings, giving viewers a sense of the animal’s habitat.
Focal lengths between 16-35mm work well for this purpose. These lenses let photographers get close to subjects while still including background elements.
Some features to look for in wide-angle lenses:
- Fast apertures (f/2.8 or wider) for low-light shooting
- Weather-sealing for protection in damp environments
- Close focusing capabilities
Popular wide-angle options include the Canon 16-35mm f/2.8L III and Nikon 14-24mm f/2.8G.
Telephoto Lenses for Safe Distance Photography
Telephoto lenses are useful for photographing shy amphibians or those in hard-to-reach places. They let you keep a safe distance without disturbing the animals.
Zoom lenses with ranges of 70-200mm or 100-400mm offer versatility in framing shots. Prime lenses like 300mm or 400mm provide excellent image quality but less flexibility.
Key features for telephoto lenses in amphibian photography:
- Image stabilization for sharp shots
- Fast autofocus for capturing quick movements
- Weather-sealing for protection in wet conditions
The Sony 100-400mm f/4.5-5.6 GM and Nikon 300mm f/4E PF are solid choices for amphibian photographers.
Supporting Gear and Accessories
Getting great amphibian photos requires more than just a camera and lens. The right supporting gear can make a huge difference in capturing amazing shots.
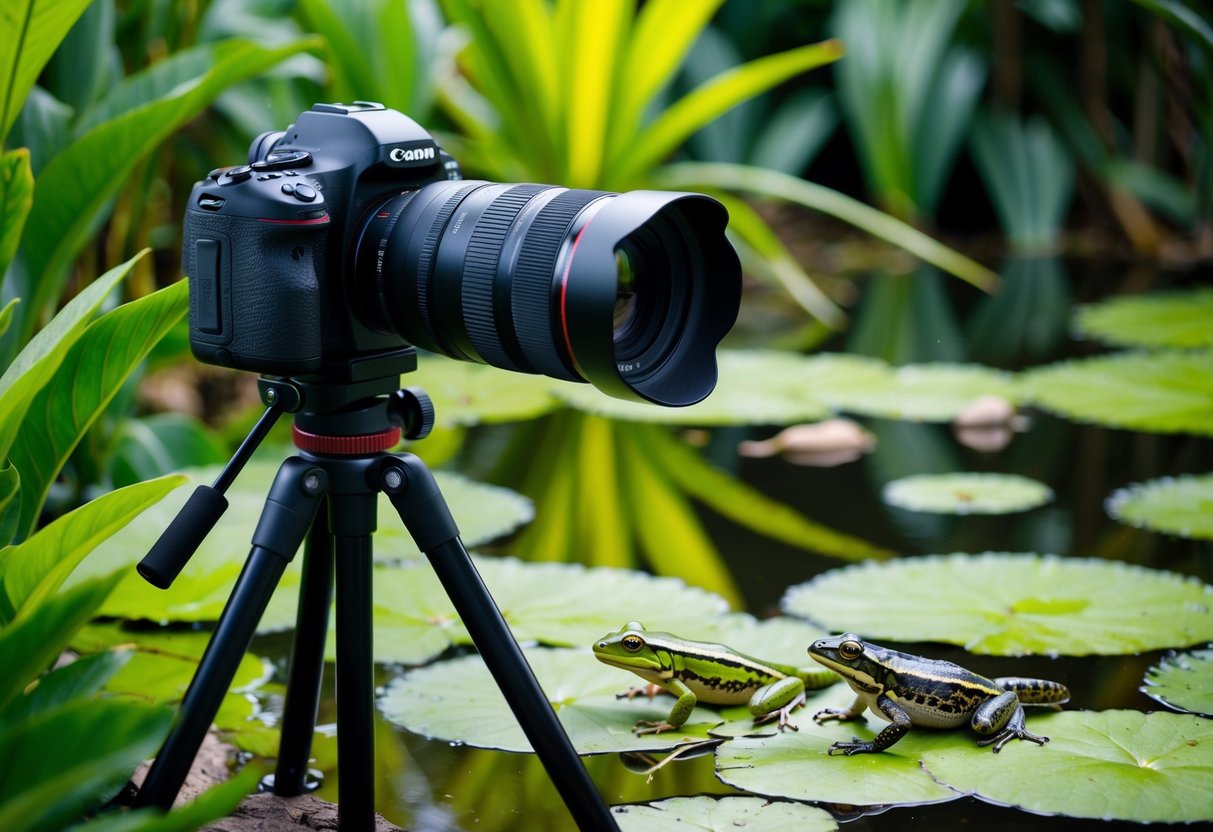
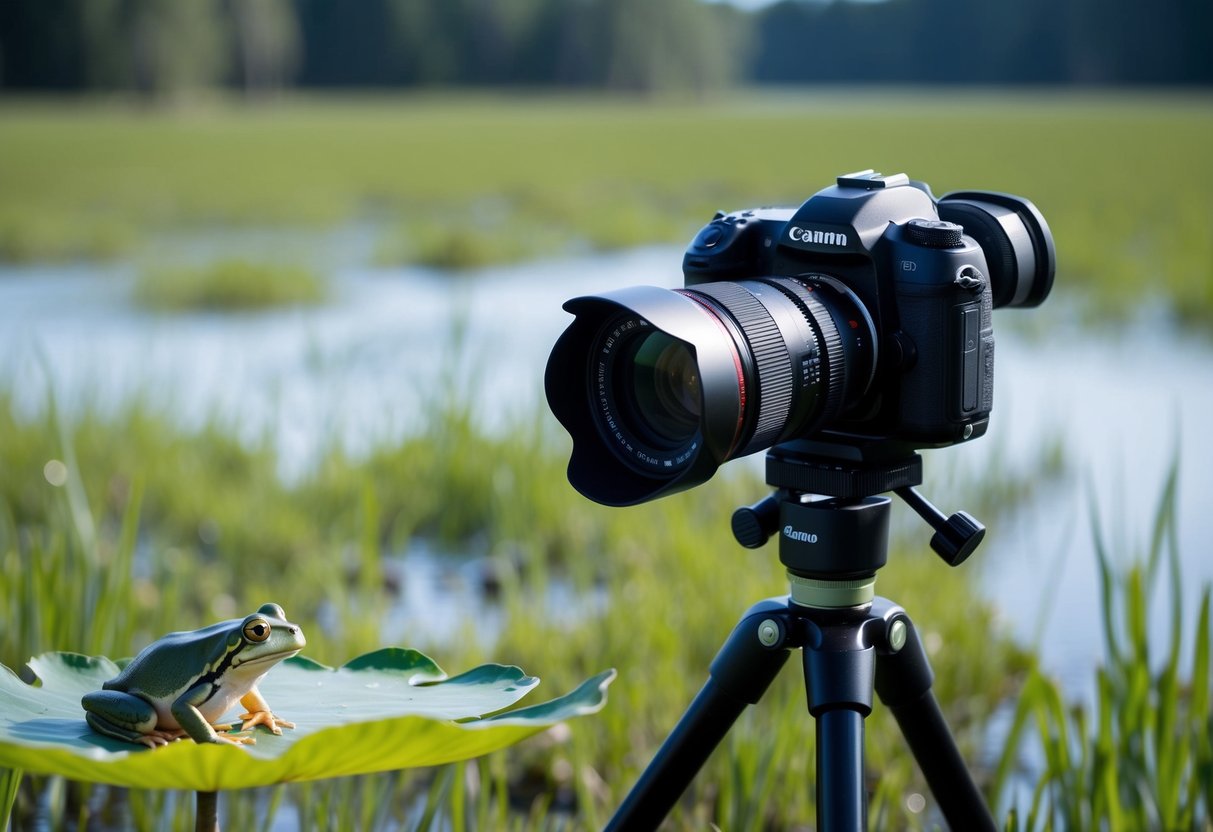
Tripods and Monopods for Stability
A sturdy tripod is crucial for amphibian photography. It keeps the camera steady for sharp images, even in low light. Look for a tripod with waterproof legs that can handle wet conditions.
Carbon fiber tripods are lightweight yet strong. They’re ideal for long hikes to remote locations. Some tripods have a center column that can be used horizontally, great for low-angle shots of frogs and salamanders.
Monopods offer more mobility than tripods. They’re useful for following fast-moving subjects. A monopod with spiked feet provides extra stability on soft ground near ponds and streams.
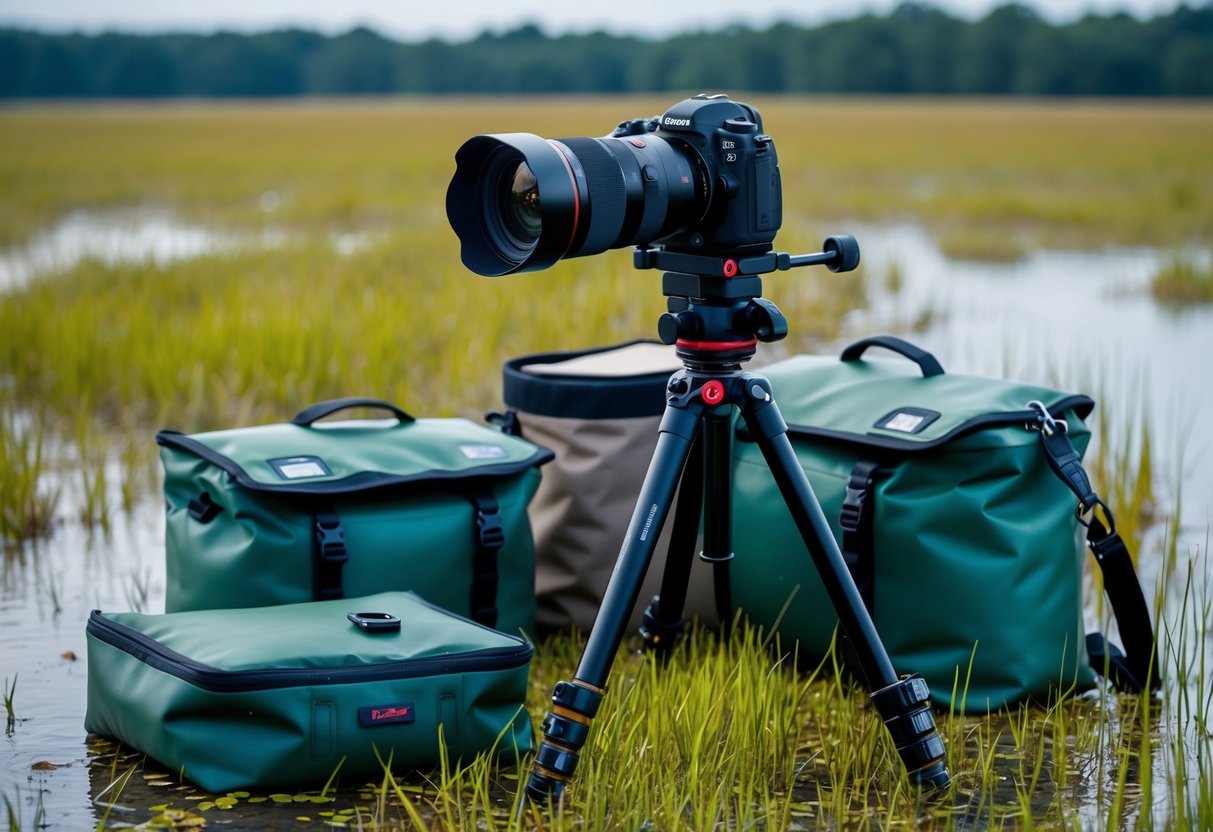
Waterproof Bags and Casings
Protecting gear from water is key when photographing amphibians. Waterproof camera covers shield equipment from splashes and rain. They allow access to controls while keeping the camera dry.
Dry bags keep spare lenses and accessories safe. Choose bags with roll-top closures for the best water protection. Some photographers use plastic tubs with tight-fitting lids to transport gear to watery locations.
Silica gel packets inside bags and cases absorb moisture and prevent fungus growth on lenses. Replace these packets regularly to maintain their effectiveness.
External Flashes and Lighting Solutions
Good lighting is essential for capturing amphibian details and colors. External flashes provide more power and flexibility than built-in flashes. Look for weather-sealed flashes to withstand damp environments.
Diffusers soften harsh flash light, creating more natural-looking images. Portable LED panels offer continuous lighting for video or seeing subjects in dark areas.
Some photographers use underwater strobes for split-level shots of amphibians at the water’s surface. These specialized lights are fully waterproof and can create dramatic lighting effects.
Optimizing Camera Settings
Getting the right camera settings is key for great amphibian photos. These tiny creatures need special techniques to capture their details and behaviors.
Exposure and Focus Techniques
For amphibian photography, manual mode with Auto ISO often works best. This lets you control depth of field and shutter speed while the camera adjusts ISO for proper exposure.
Use a wide aperture like f/2.8 to blur the background and highlight the subject. This creates a nice bokeh effect, making the amphibian stand out.
Shutter speeds of 1/125 to 1/250 are good for still subjects. For jumping frogs or swimming salamanders, bump it up to 1/500 or faster.
Focus is critical. Use single-point autofocus and place it on the animal’s eye. For manual focus, zoom in on the LCD screen to ensure sharpness.
White Balance and Color Accuracy
Amphibians come in many colors, so getting the white balance right is crucial. Setting the correct white balance in-camera saves time in post-processing.
Auto white balance works well in natural light. In shaded areas or underwater, try the shade or cloudy presets.
For more control, use a gray card to set a custom white balance. This is helpful in mixed lighting conditions.
Consider shooting in RAW format. It allows for easier white balance adjustments later without losing image quality.
Using Burst Mode for Dynamic Captures
Burst mode is a game-changer for amphibian photography. It lets you capture quick movements and subtle changes in pose.
Set your camera to its highest frame rate. This might be 5-10 fps on entry-level models or 20+ fps on pro bodies.
Use continuous autofocus (AF-C) to track moving subjects. This keeps the amphibian in focus as it hops or swims.
Be ready to take lots of shots. Sort through them later to find the best poses and expressions.
Remember to bring extra memory cards. Burst mode fills them up quickly, especially when shooting RAW.
Creative Techniques in Amphibian Photography

Innovative approaches can elevate amphibian photography from simple snapshots to captivating art. Unique perspectives, capturing movement, and mastering macro techniques are key to creating striking images of frogs, salamanders, and other amphibians.
Perspective and Composition
Getting down to eye level with amphibians creates a powerful connection in photos. Use an off-camera flash to highlight textures and colors. Frame subjects using natural elements like leaves or branches.
Try unusual angles to show amphibians in a new light. Shoot from directly above or below to create abstract compositions. Include habitat in wide-angle shots to give context.
Use the rule of thirds to place subjects off-center for visual interest. Lead the viewer’s eye through the image with lines and shapes in the environment.
Capturing Movement and Behavior
Freezing action requires fast shutter speeds and good timing. Set up near water to catch frogs mid-leap. Use burst mode to capture a series of images.
Photograph amphibians at night when many species are most active. A flashlight can help focus in low light. Be patient and observe behavior before shooting.
Show interactions between amphibians or with prey. Mating, feeding, and territorial displays make for dynamic images. Video can also be effective for recording complex behaviors.
Macro Photography Tips and Tricks
Use a dedicated macro lens or extension tubes for extreme close-ups. A ring flash provides even lighting for detailed shots of amphibian skin or eyes.
Focus stacking combines multiple images at different focus points for greater depth of field. This works well for small subjects like tree frogs.
Experiment with creative backgrounds using colored paper or foliage. A shallow depth of field isolates the subject from distracting elements.
Choose the right angle to emphasize important features. A 35-degree angle often works well for showing field marks clearly.
Post-Processing and Editing

Good editing can make your amphibian photos shine. The right software and techniques can bring out details, fix exposure issues, and enhance colors.
Basic Editing Workflow
Start by adjusting exposure and white balance. Tweak highlights and shadows to bring out textures. Crop the image to improve composition if needed.
Use noise reduction to clean up grainy areas. This is often needed for low-light amphibian shots. Sharpen key areas like eyes and skin patterns.
Apply subtle color adjustments. Boost saturation slightly to make colors pop. Be careful not to overdo it and make the image look unnatural.
Advanced Editing Techniques
Focus stacking can create tack-sharp images of amphibians. This works well for close-ups where depth of field is limited. Take multiple shots at different focus points and blend them.
Use luminosity masks to make targeted adjustments. This lets you enhance specific tonal ranges without affecting others. It’s great for bringing out subtle details in amphibian skin.
Try high dynamic range (HDR) techniques for scenes with tricky lighting. This can balance bright backgrounds with darker subjects.
Software Recommendations
Adobe Lightroom is popular for organizing and basic edits. It has powerful tools for managing large photo libraries.
Photoshop offers advanced editing features. It’s ideal for complex retouching and compositing.
Capture One is known for excellent color handling. This can be crucial for accurate amphibian colors.
DxO PhotoLab has great noise reduction. It’s useful for cleaning up high-ISO amphibian shots.
For beginners, free options like GIMP or RawTherapee can work well. They offer many pro-level features without the cost.
Conservation and Ethics
Taking photos of amphibians requires care and responsibility. Photographers must follow rules and respect nature to avoid harming these sensitive creatures and their homes.
Respecting Wildlife and Habitats
When photographing amphibians, it’s crucial to minimize disturbance to the animals. Photographers should never move or handle amphibians unless absolutely necessary. If handling is required, clean, wet hands are a must to protect their delicate skin.
Staying on marked trails helps preserve habitats. Trampling vegetation can destroy important microhabitats. Photographers should avoid using flash excessively, as it may stress the animals.
It’s important to leave the area as it was found. This means not removing any plants, animals, or other natural objects. Good practice includes cleaning equipment between locations to prevent spreading diseases or invasive species.
Legal Considerations and Permits
Many areas require permits for wildlife photography, especially for protected species or in nature reserves. Photographers must research and obtain necessary permits before their trips.
Some locations restrict the use of artificial lighting or have rules about approaching wildlife. It’s essential to know and follow these regulations to avoid fines or legal issues.
Sharing location data of rare species online can lead to over-visitation and habitat destruction. Photographers should be cautious about revealing exact locations of sensitive species in their work.
Building an Amphibian Photography Portfolio

Creating a strong amphibian photography portfolio takes time and patience. Photographers should aim to capture a variety of species in different habitats and behaviors.
Start by focusing on local amphibians. Frogs, toads, and salamanders found in nearby ponds and forests make great subjects for beginners.
Variety is key. Include close-up portraits, wide-angle habitat shots, and images showing interesting behaviors like calling or breeding.
Lighting techniques play a crucial role. Experiment with natural light, flash, and diffusers to highlight textures and colors.
Consider the following elements for a well-rounded portfolio:
- Species diversity
- Habitat shots
- Behavioral images
- Seasonal variations
- Day and night photos
Remote triggers can help capture unique perspectives. They allow photographers to set up wide-angle shots without disturbing the animals.
Ethics are crucial. Always prioritize the well-being of amphibians and their habitats. Avoid handling animals unnecessarily and respect protected areas.
Patience pays off. Amphibians can be challenging subjects, but persistence leads to rewarding images that showcase their beauty and importance.
Promoting Your Work and Networking
Sharing amphibian photos online is a great way to gain exposure. Popular platforms include Instagram, Flickr, and 500px. Use relevant hashtags to reach a wider audience interested in nature and wildlife photography.
Join photography clubs or online communities focused on amphibian and wildlife photography. These groups offer chances to connect with like-minded photographers and learn new techniques.
Consider submitting photos to nature magazines or wildlife photography contests. This can help build credibility and get your work noticed by professionals in the field.
Create a personal website or portfolio to showcase your best amphibian photos. Include information about your equipment and techniques to provide value to visitors.
Attend nature photography workshops or conferences. These events offer opportunities to learn from experts and network with other wildlife photographers.
Collaborate with local conservation groups or herpetologists. Offering your photography skills can lead to unique opportunities and help raise awareness for amphibian conservation efforts.
Remember to always follow ethical guidelines when photographing amphibians in the wild. Responsible practices will earn respect from peers and potential clients.
Frequently Asked Questions
Choosing the right camera gear for amphibian photography requires careful consideration of equipment, settings, and accessories. Key factors include selecting entry-level options, understanding important camera features, picking suitable lenses, optimizing settings, and adding essential accessories.
What entry-level camera equipment is recommended for those new to amphibian and wildlife photography?
For beginners, a DSLR or mirrorless camera with a crop sensor is a good starting point. These cameras offer flexibility and room for growth.
An affordable zoom lens, like a 70-300mm, provides versatility for capturing amphibians from a distance. A macro lens is also useful for close-up shots of smaller subjects.
Which camera features are most important for capturing high-quality images of animals in the wild?
Fast autofocus and high frame rates are crucial for wildlife photography. These features help track moving subjects and capture the perfect moment.
Good low-light performance is important, as amphibians are often active in dim conditions. Weather-sealing is also valuable for shooting in damp environments.
How does one choose the appropriate lens for photographing amphibians in their natural environment?
A macro lens is ideal for close-up shots of small amphibians. A 100mm or 105mm macro lens offers a good working distance.
For larger subjects or wider scenes, a telephoto zoom lens in the 70-200mm or 100-400mm range provides flexibility. This allows you to capture images without disturbing the animals.
What are the optimal camera settings for photographing amphibians in different lighting conditions?
In low light, use a wider aperture (lower f-number) to let in more light. Increase the ISO if needed, but be mindful of noise.
For moving subjects, use a faster shutter speed to freeze motion. In bright conditions, a smaller aperture (higher f-number) can increase depth of field.
Can you suggest a camera bundle specifically suited for nature and wildlife photography?
A good bundle might include a crop-sensor DSLR or mirrorless camera with weather-sealing. Pair it with a versatile zoom lens like a 100-400mm.
Add a macro lens for close-ups and a sturdy tripod for stability. Include extra batteries, memory cards, and a weather-resistant camera bag.
What are some essential accessories to consider when assembling a photography kit for outdoor and wildlife shoots?
A sturdy tripod or monopod is crucial for stability. This is especially true in low light or when using long lenses. Consider a ball head for easy adjustments.
A remote shutter release helps minimize camera shake. Meanwhile, waterproof covers protect gear in damp conditions. Lastly, polarizing and neutral density filters can enhance image quality in various lighting situations.