
Editing Tips For Amphibian Photography: Enhancing Your Frog and Salamander Shots
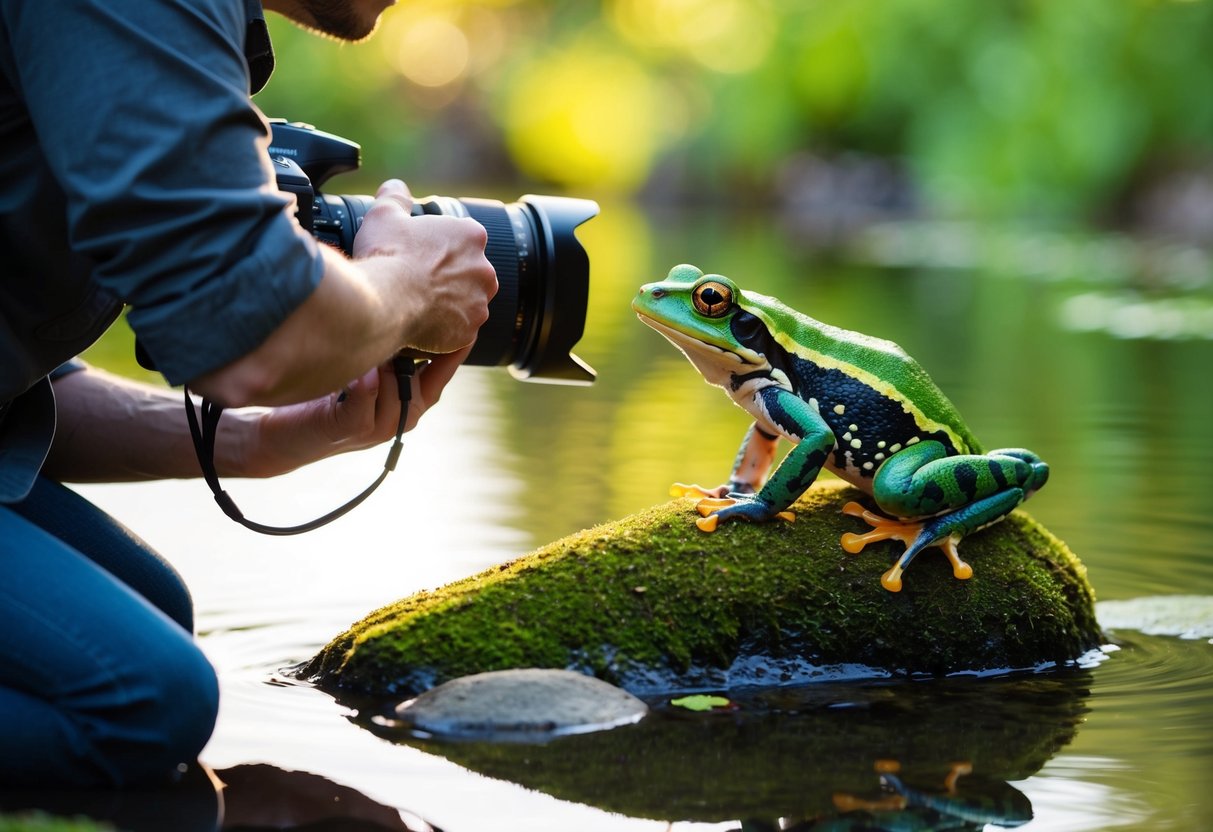
Capturing stunning images of amphibians requires skill both behind the camera and in post-processing.
Editing can transform a good photo into a great one, bringing out the unique textures and colors of these fascinating creatures. Effective editing enhances the natural beauty of amphibians without compromising the authenticity of the image.
Amphibian photography presents unique challenges due to their often small size and moist, reflective skin.
Careful editing techniques can help overcome these obstacles, allowing photographers to showcase the intricate details and vibrant hues of frogs, salamanders, and other amphibians.
From adjusting exposure to fine-tuning color balance, the editing process plays a crucial role in creating impactful amphibian images.
Key Takeaways
- Editing enhances natural features without altering the subject’s authenticity
- Proper exposure and color balance adjustments are essential for amphibian photos
- Ethical considerations should guide both fieldwork and post-processing decisions
Understanding Amphibian Behavior
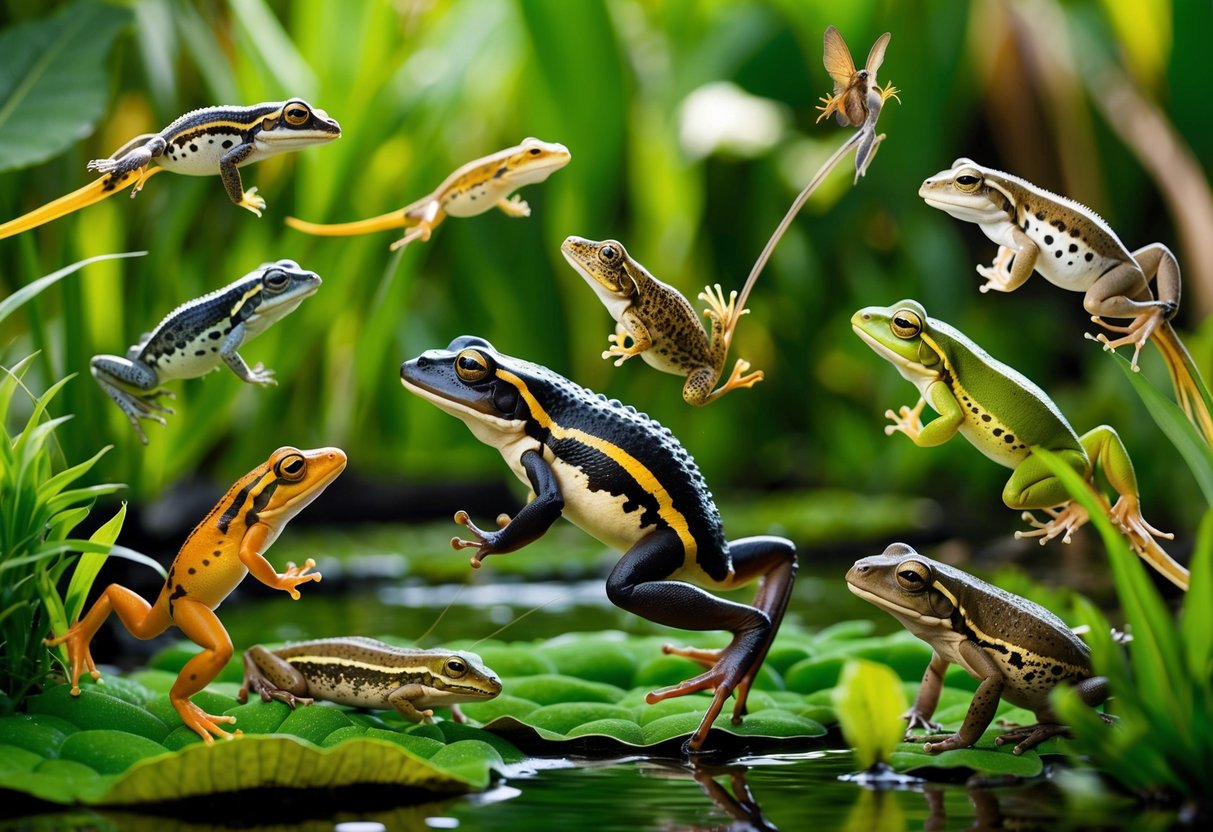
Amphibians have unique habits and behaviors that photographers need to know.
Learning about their natural habitats, active times, and common postures helps capture better images.
Natural Habitats and Times for Activity
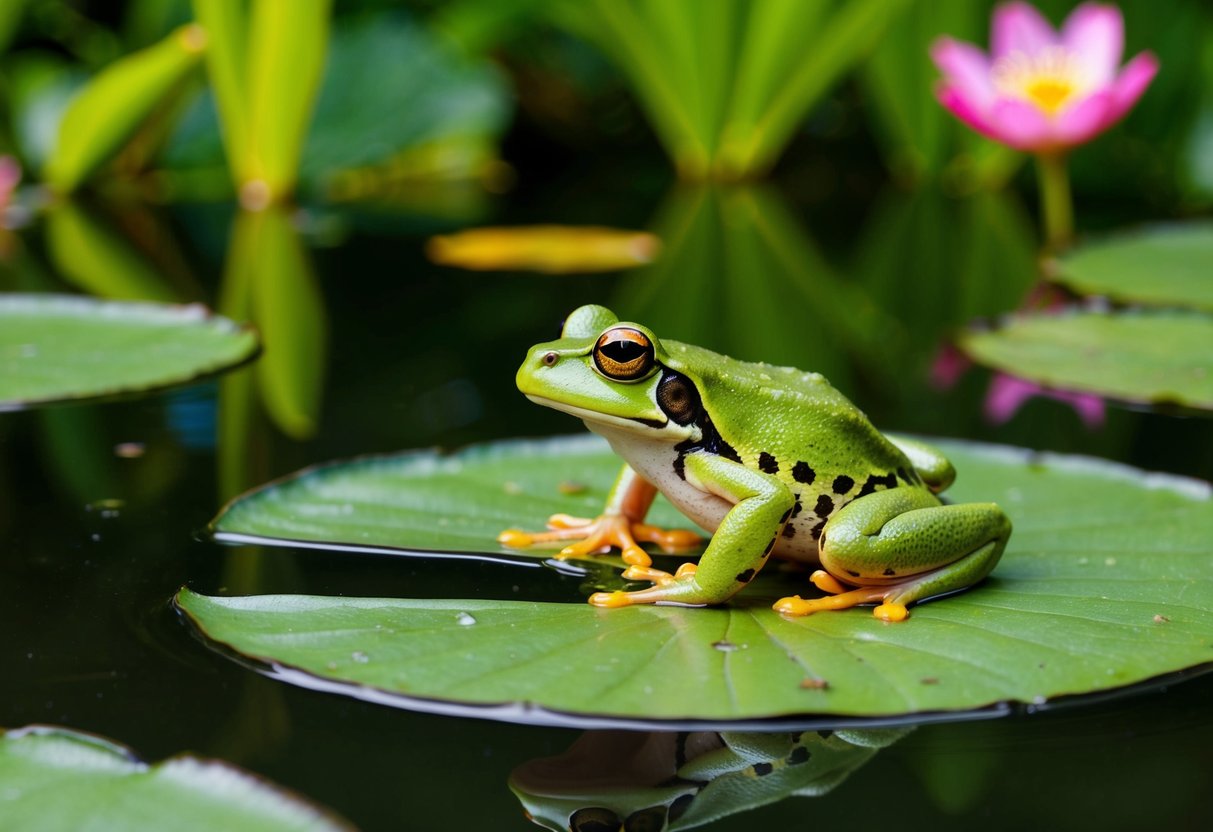
Most amphibians live near water sources like ponds, streams, or damp forests. They are often active at night or during rainy weather.
Frogs and toads may be found near the edges of water bodies. Salamanders prefer moist soil or rotting logs. Some tree frogs climb vegetation.
Dawn and dusk are good times to spot many species. Nighttime is ideal for photographing nocturnal amphibians. Rainy days bring out species that are usually hidden.
Spring breeding season offers chances to see mating behaviors and egg-laying. Summer nights are great for finding active adults.
Common Amphibian Postures
Amphibians display various poses that make for interesting photos. Knowing these helps photographers capture key moments.
Sitting postures:
- Alert pose with head up
- Relaxed pose with legs tucked in
- Floating on water surface
Active behaviors:
- Jumping or leaping
- Swimming
- Climbing on vegetation
During mating season, frogs may be seen in amplexus. This is when a male grasps a female.
Many species have defensive poses. These include puffing up the body or showing bright colors. Some salamanders arch their backs and raise their tails when threatened.
Equipment Essentials
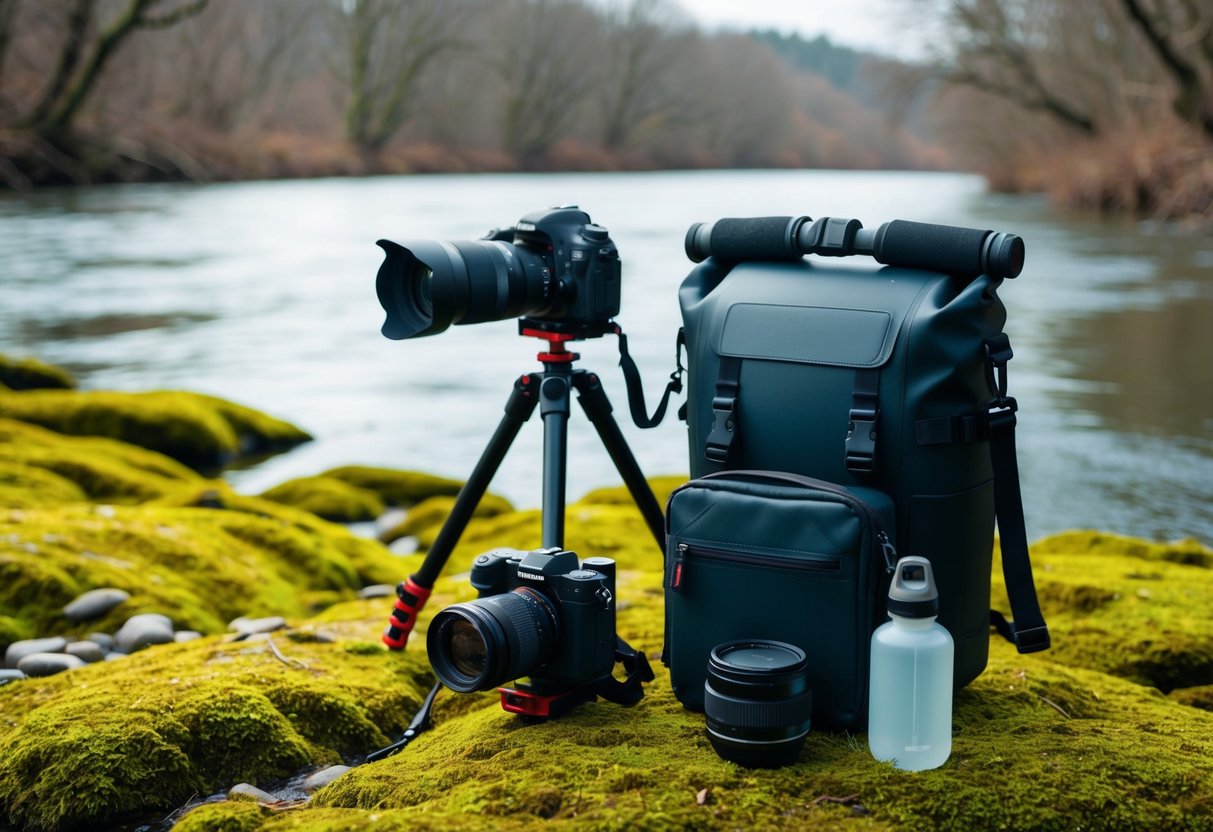
Capturing stunning amphibian photos requires the right gear. Key equipment includes a suitable camera, specialized lenses, and stability tools. These items help photographers take clear, detailed shots of small, often quick-moving subjects.
Camera Selection
For amphibian photography, a camera with good low-light performance is crucial. Many amphibians are active in dim conditions.
Mirrorless cameras and DSLRs work well. Look for models with:
- High ISO capabilities
- Fast autofocus systems
- Weather sealing for damp environments
- Silent shooting modes to avoid startling subjects
Crop sensor cameras can be advantageous. They offer more reach with telephoto lenses. This helps photographers keep a safe distance from sensitive amphibians.
Lens Considerations
Macro lenses are essential for photographing reptiles and amphibians. They allow for close-up shots with high detail. Key features include:
- Focal lengths between 90mm and 180mm
- 1:1 magnification ratio
- Image stabilization
Telephoto lenses are useful for shy species. They let photographers capture images from a distance. A 70-200mm lens is versatile for various situations.
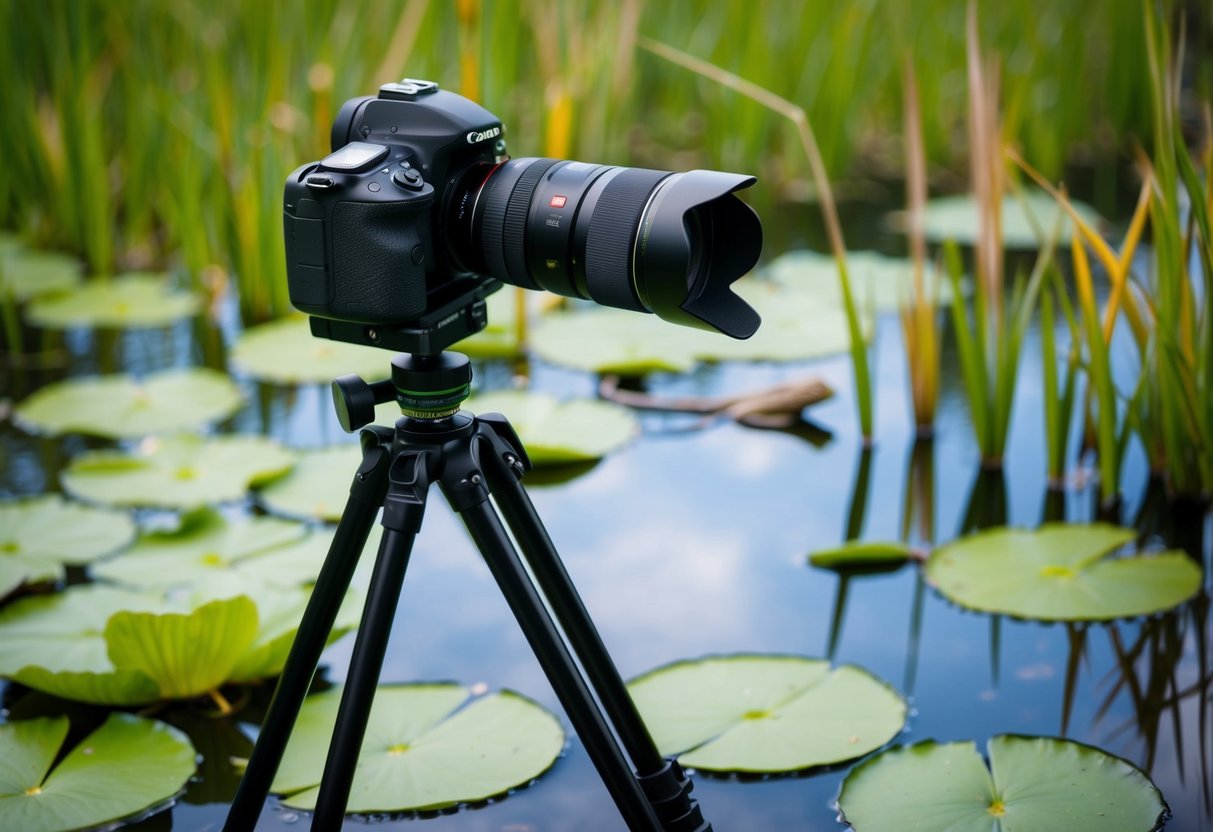
Tripods and Stabilization Tools
Stability is critical for sharp amphibian photos. Tripods provide a steady base for long exposures in low light. Look for:
- Lightweight, portable designs for field use
- Quick-release plates for fast setups
- Adjustable legs for uneven terrain
Bean bags can be helpful for ground-level shots. They conform to surfaces and provide a stable platform. For handheld shooting, a monopod can offer extra support. It’s lighter than a tripod and allows for quicker movements.
Camera Settings
Proper camera settings are crucial for capturing stunning amphibian photos. The right settings help freeze motion, achieve sharp focus, and reproduce accurate colors.
Exposure Triangle Basics
The exposure triangle consists of aperture, shutter speed, and ISO.
For amphibian photography, start with a wide aperture like f/2.8 or f/4 to blur the background. This helps the subject stand out.
Shoot in RAW format to capture more detail and allow for easier editing later. RAW files contain more data than JPEGs.
Set a fast shutter speed, around 1/250 second or faster, to freeze any movement. Amphibians can be quick, so a fast shutter helps avoid blur.
Keep ISO as low as possible, ideally 100-400, to minimize noise. Raise it only if needed in low light conditions.
Focusing Techniques for Sharp Images
Use single-point autofocus for precise control. Place the focus point on the amphibian’s eye for maximum sharpness.
Try back-button focus to separate focusing from shutter release. This allows you to lock focus and then recompose if needed.
For skittish subjects, pre-focus on a spot where you expect the amphibian to be. This technique works well for frogs jumping or salamanders emerging from hiding.
Manual focus can be useful for macro shots or in low contrast scenes where autofocus struggles.
White Balance and Color Accuracies
Set white balance to match your lighting conditions. Auto white balance often works well outdoors.
For more control, use a preset like “Daylight” for sunny conditions or “Cloudy” for overcast days.
Custom white balance ensures the most accurate colors. Use a gray card or white object to set a custom reading.
Consider using a color checker card in your first shot. This helps with color correction during editing.
If shooting in mixed lighting, like dappled sunlight in a forest, adjust white balance carefully to avoid color casts.
Artistic Composition
Composition plays a crucial role in creating captivating amphibian photographs. By applying key techniques, photographers can elevate their images and draw viewers’ attention to these fascinating creatures.
Rule of Thirds in Amphibian Photography
The rule of thirds is a powerful tool for amphibian photographers. Imagine dividing the frame into a 3×3 grid. Place the main subject – the frog, toad, or salamander – along these lines or at their intersections.
This technique creates a more balanced and visually appealing image.
For example, position a tree frog on the right vertical line, with its eye at the upper intersection point.
The rule of thirds also helps highlight the amphibian’s environment. Place the horizon on the upper or lower horizontal line to show more of the habitat or sky, depending on your desired focus.
Using Negative Space
Negative space refers to the empty areas around the main subject. In amphibian photography, it can create striking images that emphasize the creature’s unique features.
A small frog surrounded by a large, out-of-focus leaf can make for a powerful composition. The contrast between the sharp subject and the blurred background draws attention to the amphibian.
Negative space can also convey a sense of the animal’s habitat. A salamander on a bare rock with open water behind it suggests the creature’s aquatic environment.
Experiment with different amounts of negative space. Too much can make the subject seem lost, while too little might create a cluttered image.
Perspective and Angle Variation
Changing your perspective can dramatically alter the impact of amphibian photographs.
Get down to eye level with your subject for an intimate view of their world.
A low angle shot of a frog can make it appear larger and more imposing. This technique works well for showcasing colorful throat pouches or intricate skin patterns.
Try shooting from above to capture the animal’s full body shape. This angle works particularly well for salamanders or newts with interesting dorsal patterns.
Don’t forget to experiment with diagonal compositions. A tree frog climbing at an angle can create a dynamic, visually interesting image that leads the viewer’s eye through the frame.
Lighting Considerations
Good lighting is key for amphibian photography. It can make or break your shots. The right light brings out colors and textures while poor lighting can leave images flat and dull.
Natural vs. Artificial Lighting
Natural light gives a soft, realistic look to amphibian photos. It’s best on overcast days when light is diffused. Bright sun can create harsh shadows and blow out highlights.
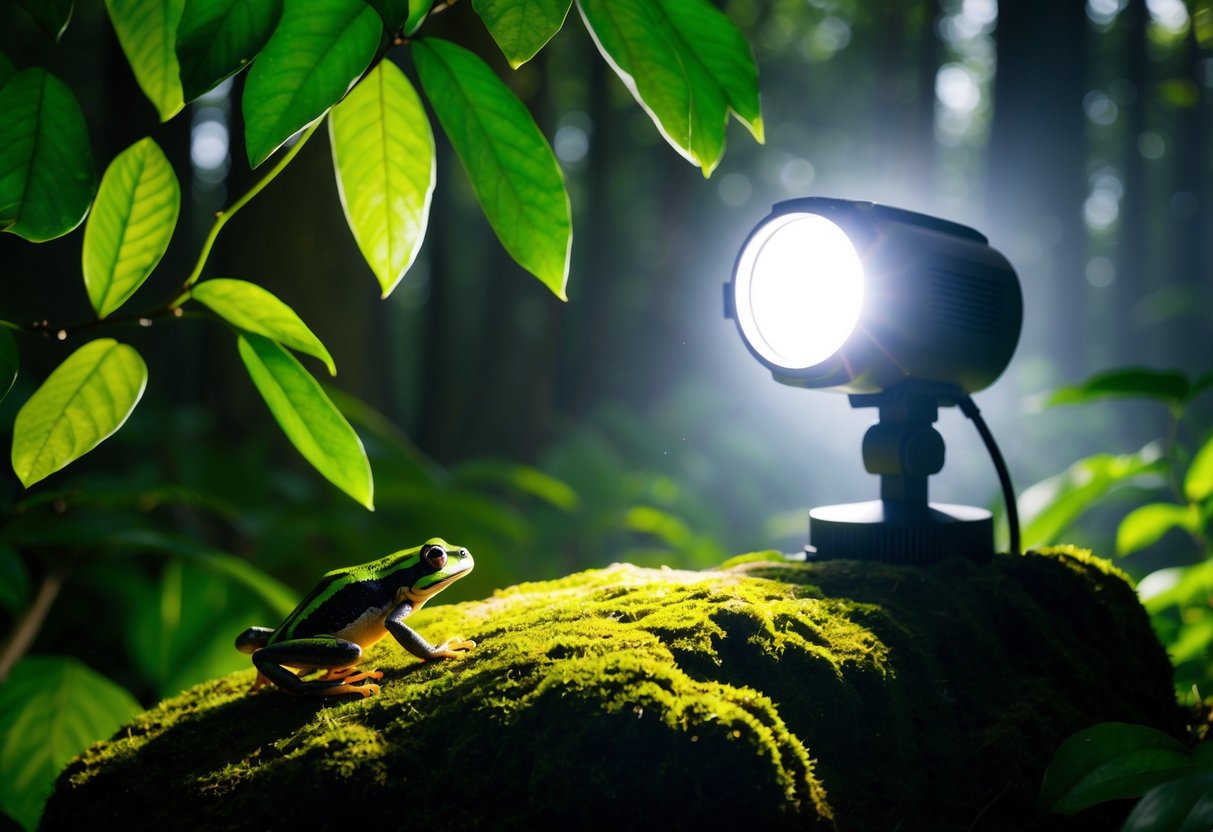
For night shots, artificial light is a must.
Off-camera flash with a softbox creates even lighting. It reduces glare and harsh reflections on moist amphibian skin.
Some worry flash harms amphibians. But studies show it’s safe when used properly. Flash duration is so brief, frogs don’t even need to adjust their eyes.
Manipulating Shadow and Highlights
Shadows add depth but can hide details. Reflectors bounce light into shaded areas. This fills in dark spots without harsh direct light.
Highlights show texture but can wash out colors. Diffusers soften bright light. They spread it evenly across the subject.
Backlighting creates artistic effects. It rimlines the subject with light. This technique works well for translucent frogs.
Best Times for Natural Light Photography
Early morning and late afternoon offer soft, golden light. This “magic hour” light flatters amphibians. It brings out their colors without harsh shadows.
Overcast days provide even lighting all day. Clouds act as a giant diffuser. This reduces contrast and allows for longer shooting times.
Rainy days are ideal for many amphibians. They’re more active and their skin glistens. Use a polarizing filter to cut glare from wet surfaces.
Macro Photography Techniques
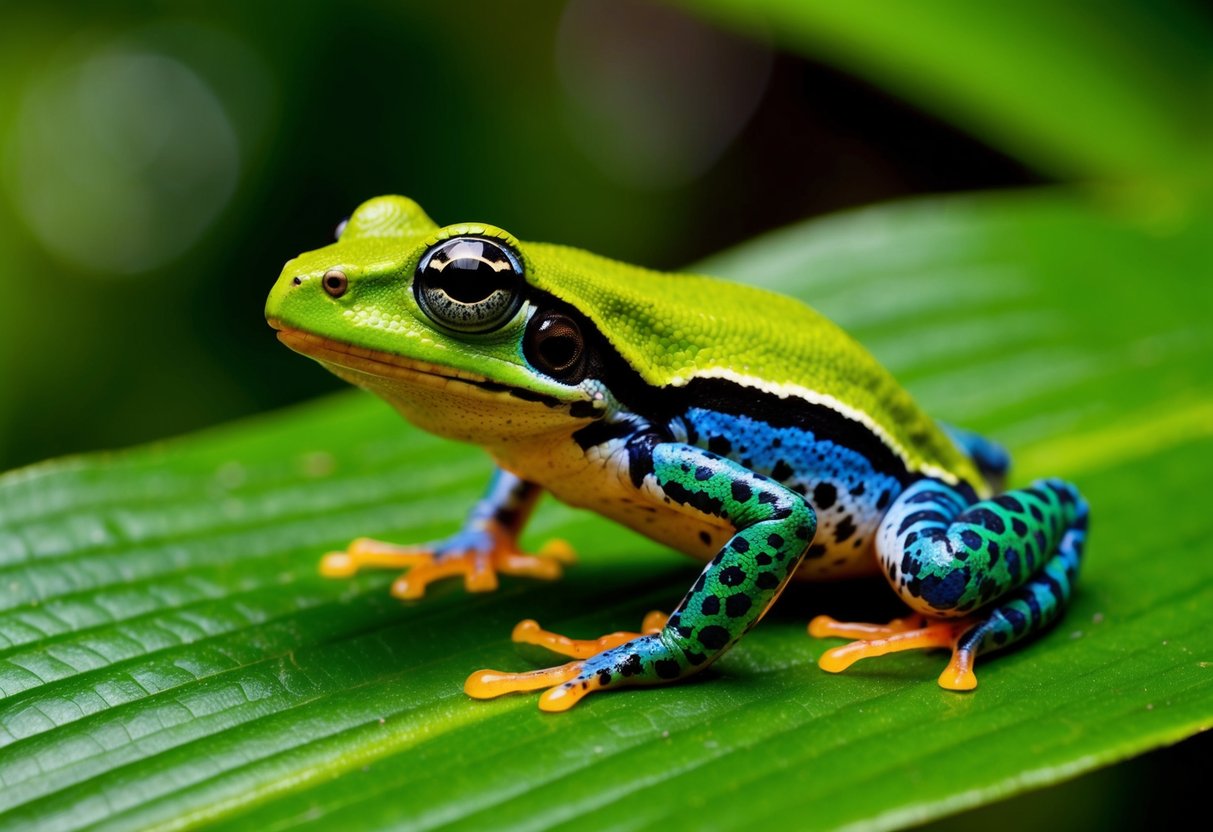
Macro photography allows you to capture tiny details of amphibians up close. It requires special equipment and techniques to get sharp, well-lit images.
Depth of Field in Macro Shots
Macro shots have a very shallow depth of field. This makes it hard to get the whole subject in focus.
Using a small aperture like f/16 or f/22 can help increase depth of field.
But small apertures reduce light. You may need to use a flash or increase ISO to compensate.
Focus stacking is another option. This involves taking multiple shots at different focus points and merging them.
For amphibians, try to get the eyes in focus. The texture of skin can also be a key focal point. Experiment with different apertures to find the right balance of focus and background blur.
Maintaining Focus at Close Range
Keeping focus is tricky in macro photography. Even small movements can throw off focus. A tripod helps steady the camera. For moving subjects, use a fast shutter speed.
Focus peaking is a useful tool on many cameras. It highlights in-focus areas. Manual focus often works better than autofocus for macro shots.
Try focusing on one part of the amphibian, like an eye. Then make small adjustments to the camera position. This can be easier than trying to focus the lens. Practice and patience are key to getting sharp macro images.
Fieldwork Ethics
Ethical practices are crucial when photographing amphibians in their natural habitats. Responsible behavior protects these sensitive creatures and their environments. Photographers must prioritize the welfare of their subjects above getting the perfect shot.
Minimizing Disturbance to Amphibians
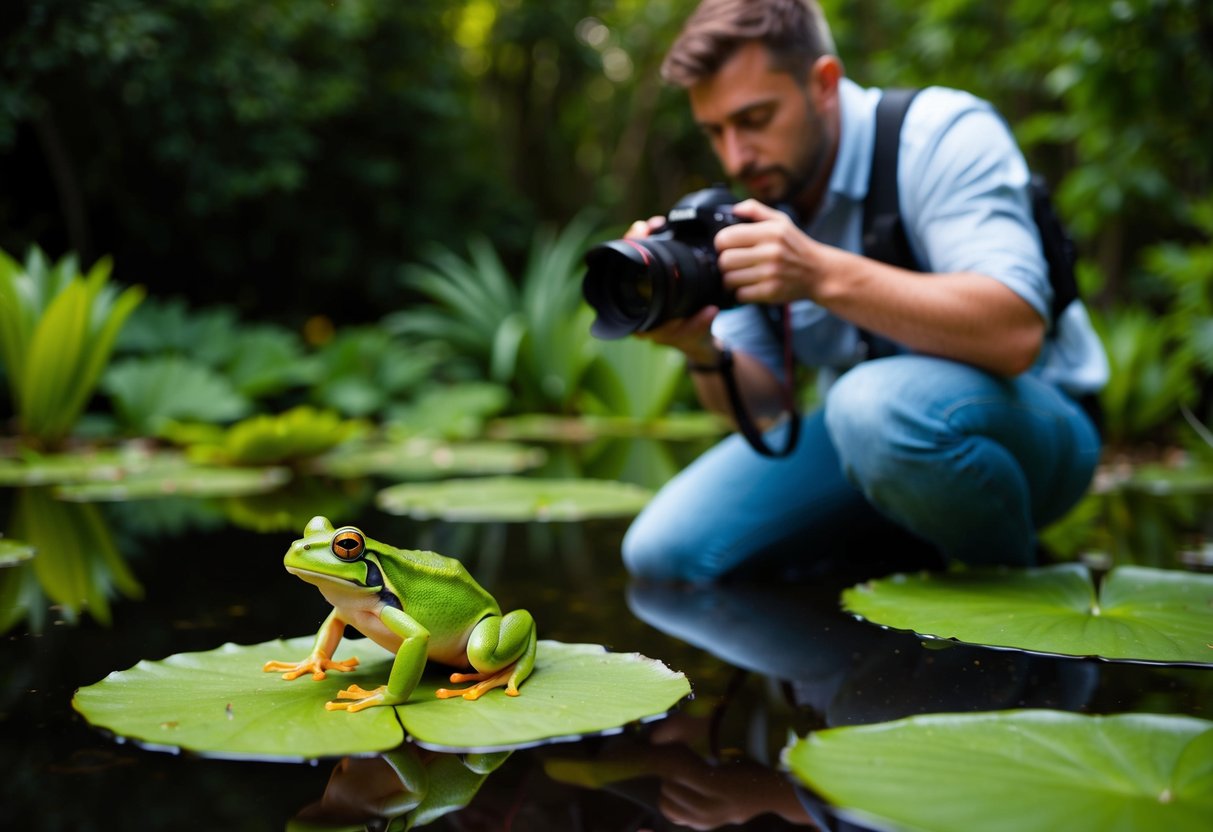
Amphibians are easily stressed by human presence. Photographers should move slowly and quietly when approaching subjects. It’s best to use long lenses to keep a safe distance. Flash photography should be limited, as it can disorient amphibians.
Handling amphibians is strongly discouraged. If absolutely necessary, clean, wet hands are essential. Lotions and chemicals on skin can harm amphibians’ delicate bodies.
Photographers must never move amphibians from their locations. Doing so can disrupt their natural behaviors and expose them to dangers.
Time spent with each subject should be brief. Extended photo sessions can prevent amphibians from important activities like feeding or mating.
Leave No Trace Principles
Ethical wildlife photography means leaving habitats undisturbed. Photographers should stick to existing trails and avoid trampling vegetation. This preserves the ecosystem and prevents habitat destruction.
All equipment and personal items must be packed out. Even small bits of trash can harm wildlife.
Natural elements like logs or rocks should not be moved. These provide crucial shelter for amphibians and other creatures.
Respecting local regulations is vital. Some areas may restrict photography or require permits. Following these rules protects sensitive species and habitats.
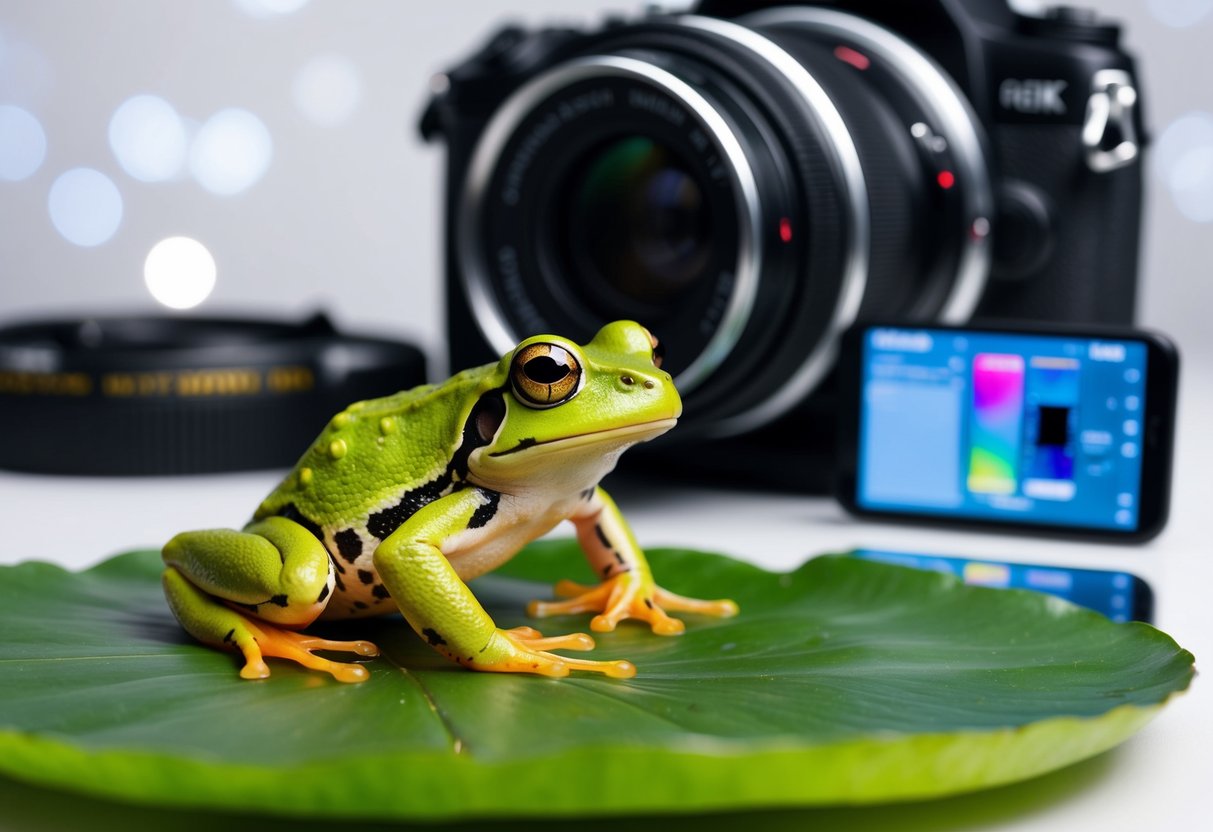
Post-Processing Tips

Post-processing is key for bringing out the best in amphibian photos. It helps enhance details, colors, and composition to create stunning images.
Basic Editing Workflows
Start by adjusting exposure and contrast to balance the overall image. Use the histogram as a guide to ensure proper tonal range. Correct white balance to capture accurate colors.
Next, adjust sharpness and noise reduction to bring out fine details without introducing artifacts. Apply selective sharpening to the amphibian’s eyes and skin texture.
Consider using adjustment brushes or graduated filters to fine-tune specific areas. This allows for targeted enhancements without affecting the entire image.
Save your edits in a non-destructive format to preserve the original file. Create presets for common adjustments to streamline your workflow on future edits.
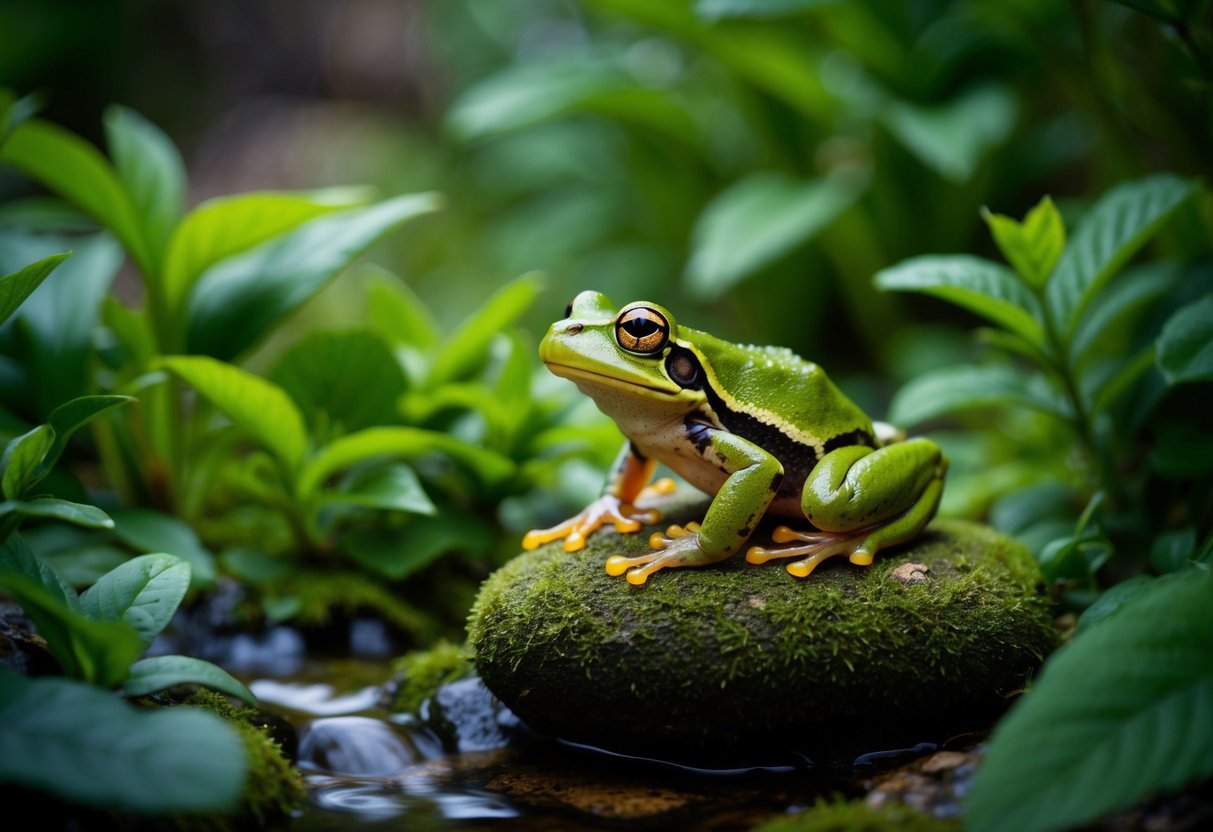
Enhancing Textures and Colors
Amphibians often have unique textures and vibrant colors. Use clarity and texture sliders to accentuate skin details without overdoing it. Subtle adjustments work best.
Boost saturation and vibrancy to make colors pop, but be careful not to make the image look unnatural. Use the HSL (Hue, Saturation, Luminance) panel for precise color adjustments.
Experiment with split toning to add depth to shadows and highlights. This can create a mood that complements the amphibian’s environment.
Dodge and burn techniques can enhance the three-dimensional appearance of the subject. Apply these sparingly to maintain a natural look.
Cropping for Composition Improvement
Cropping can dramatically improve composition. Follow the rule of thirds to place the amphibian’s eye or key features at interesting points in the frame.
Consider different aspect ratios to find the most flattering composition. Square crops can work well for symmetrical subjects, while wider ratios may better suit elongated amphibians.
Pay attention to negative space. Sometimes, leaving more room in the direction the amphibian is facing can create a sense of movement or context.
Be mindful of resolution when cropping. Avoid excessive cropping that may reduce image quality, especially if you plan to make large prints.
Sharing Your Work
Sharing your amphibian photography allows others to enjoy your art and helps build your reputation. It’s important to choose the right platforms and engage with the community effectively.
Choosing the Right Platforms
Pick platforms that showcase your amphibian photos well. Instagram is great for visual content and has a large nature photography community. Use hashtags like #amphibianphotography to reach interested viewers.
Flickr offers high-quality image hosting and groups dedicated to amphibian photography. This can help you connect with other enthusiasts.
500px is another option for serious photographers. It has a professional feel and allows you to sell prints.
Consider making a website to display your best work. This gives you full control over how your photos are presented.
Engaging the Community
Join online forums and groups focused on amphibian photography. Share your work and give feedback on others’ photos. This builds connections and helps you improve.
Attend local photography meetups or nature walks. Meeting other photographers in person can lead to collaborations and new opportunities.
Enter contests to gain exposure. Many nature and wildlife photography competitions have amphibian categories.
Offer to give talks at schools or nature centers about amphibian photography. This shares your passion and educates others about these fascinating creatures.
Frequently Asked Questions
Editing amphibian photos takes skill and the right tools. These questions cover key techniques and software for enhancing wildlife images.
What are essential editing techniques for enhancing amphibian photographs?
Masking allows selective editing of specific image parts. This technique helps focus on the amphibian without changing the whole picture.
Sharpening brings out textures in skin and eyes. It makes details pop and creates a clearer image.
Contrast adjustments can make colors more vivid. This helps amphibians stand out from their surroundings.
Which software is recommended for post-processing wildlife photography?
Adobe Lightroom is a top choice for wildlife photographers. It offers powerful tools for organizing and editing photos.
Capture One is another option. It excels at color grading and tethered shooting.
For advanced edits, Adobe Photoshop provides more complex tools and layers.
What are the best practices for cropping wildlife photos effectively?
Crop to remove distractions. This helps keep the focus on the amphibian subject.
Follow the rule of thirds. Place the animal’s eyes or key features at intersection points.
Leave space for the animal to “look” into. This creates a more balanced composition.
How can one adjust the lighting and color in amphibian photographs during editing?
Use exposure adjustments to brighten or darken the image. This helps correct for challenging lighting conditions.
Adjust white balance to fix color casts. It ensures accurate representation of the amphibian’s natural colors.
Lighten the eyes to create a connection with the viewer. This small change can have a big impact.
Can you provide steps to edit animal photography in Adobe Lightroom?
Start by adjusting exposure and contrast. This sets the overall tone of the image.
Fine-tune colors using HSL sliders. They allow precise control over hue, saturation, and luminance.
Apply local adjustments with brushes or gradients. These tools help enhance specific areas of the photo.
What are the basics every photographer should know for photo editing wildlife images?
Always shoot in RAW format. It preserves more data and allows for better edits.
Use a calibrated monitor. This ensures accurate color representation during editing.
Make non-destructive edits. Use adjustment layers or virtual copies to preserve the original image.